1. Open system settings (Manager)

2. Go to "Access"

3. Click on "Add new"
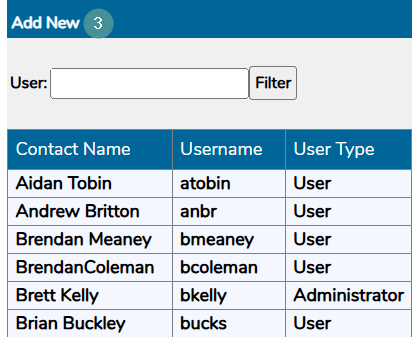
Enter the following information:
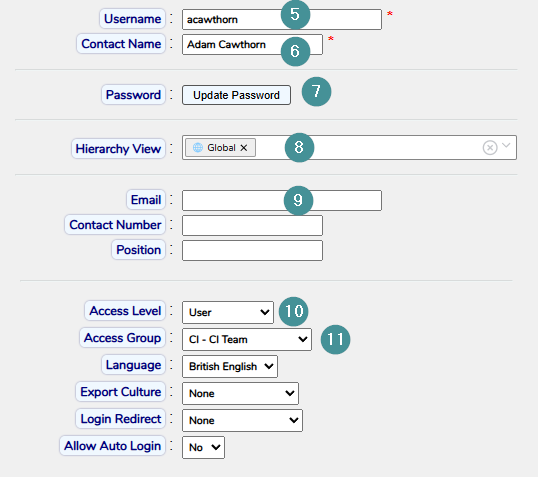
5. Username: Serves as a unique identifier for the user. For example: surname_firstname.
6. Contact Name: The name displayed in the system to identify the logged-in user.
7. Password: Use a password generator to create a strong password. A minimum of 12 characters is recommended.
8. Hierarchy View: Use this dropdown to restrict the user’s view to specific Work Centres.
9. Email: Required if the user wishes to receive email notifications.
10. Access Level:
-
-
Administrator: The highest access level, allowing full system control.
Administrators can:- Add new users
- Change passwords
- Add and edit products and OEE rates
- Manage downtime records
-
User: Typically assigned to operators and supervisors. This level allows users to reassign downtimes.
-
Read-Only: Users at this level can view the system but cannot make any changes.
-
11. Access Groups:
-
- System Admin - SA: Highest-level Administrator access.
- User - NA: Standard User access.
- Viewer - NA: Read-Only access.
Optional settings:
- Phone Number: User’s contact number.
- Position: The role or job title of the user.
- Export Culture: Defines the language used in exported files.
- Login Redirect: Choose the default landing page upon login—Order Detail, Plant Watch, or Digital Dashboard.
- Allow Auto Login: Keeps the user logged in. Recommended only for View-Only screens.
- Dark Mode | Light Mode: Adjusts the system’s appearance based on user preference.
- Plant Watch View Mode: Choose between Full or Compact view.
- Show Remove Buttons: Enables or disables the display of remove buttons for this user.
- View Financials: Yes / No—Grants access to financial data.
- View Work Centre Groups: Allows users to organize Work Centres into selected groups.
- Is Notes Owner: Marks the user as the owner of notes they create.
- Change Start/Finish Times: Grants or restricts the ability to modify order start and finish times.