Create a New Calendar period via an copy:
- Instead of editing a live calendar template, we recommend creating a new one.
- Copy the currently used calendar period into this new calendar.
- Make any necessary changes.
- When you are done, apply the new calendar to the Work Centre.
- If you have to stop mid-configuration due to an emergency, this prevents partially changed settings from automatically rolling out the following week.
- Using a separate calendar ensures your live system remains unaffected until you finalize your changes.
Create a new Calendar:
1. Open system settings (Manager)
2. Go to "Scheduling"
3. Click on "Calendar Temp"

4. Click "Add new"
5. Give the calendar template a descriptive name to help distinguish it from others. For example, “Week starts on Monday at 7:00 AM.”
6. Enter the calendar’s start date (it can be a past date if necessary, like Monday this week), and specify the hour when the shifts begin.
7. Enter the calendar’s length (for example, 7 days).
8. Specify when the calendar should repeat (e.g., every 7 days).
9. Save
10. Go back to the list where you can see all of the calendars.
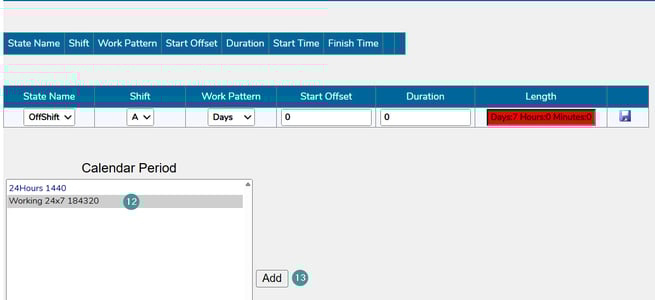
Copy the calendar period into the new calendar.

11. Edit the calendar Period.

12. Mark the calendar period you want to copy.
13. Click "Add"
14. Edit the Calendar Period. (Read how to add a New Calendar period)
15. Save
16. Ensure that your Area Day Start Time matches the Calendar Template Start Time.
17. Change the Work Centres calendar